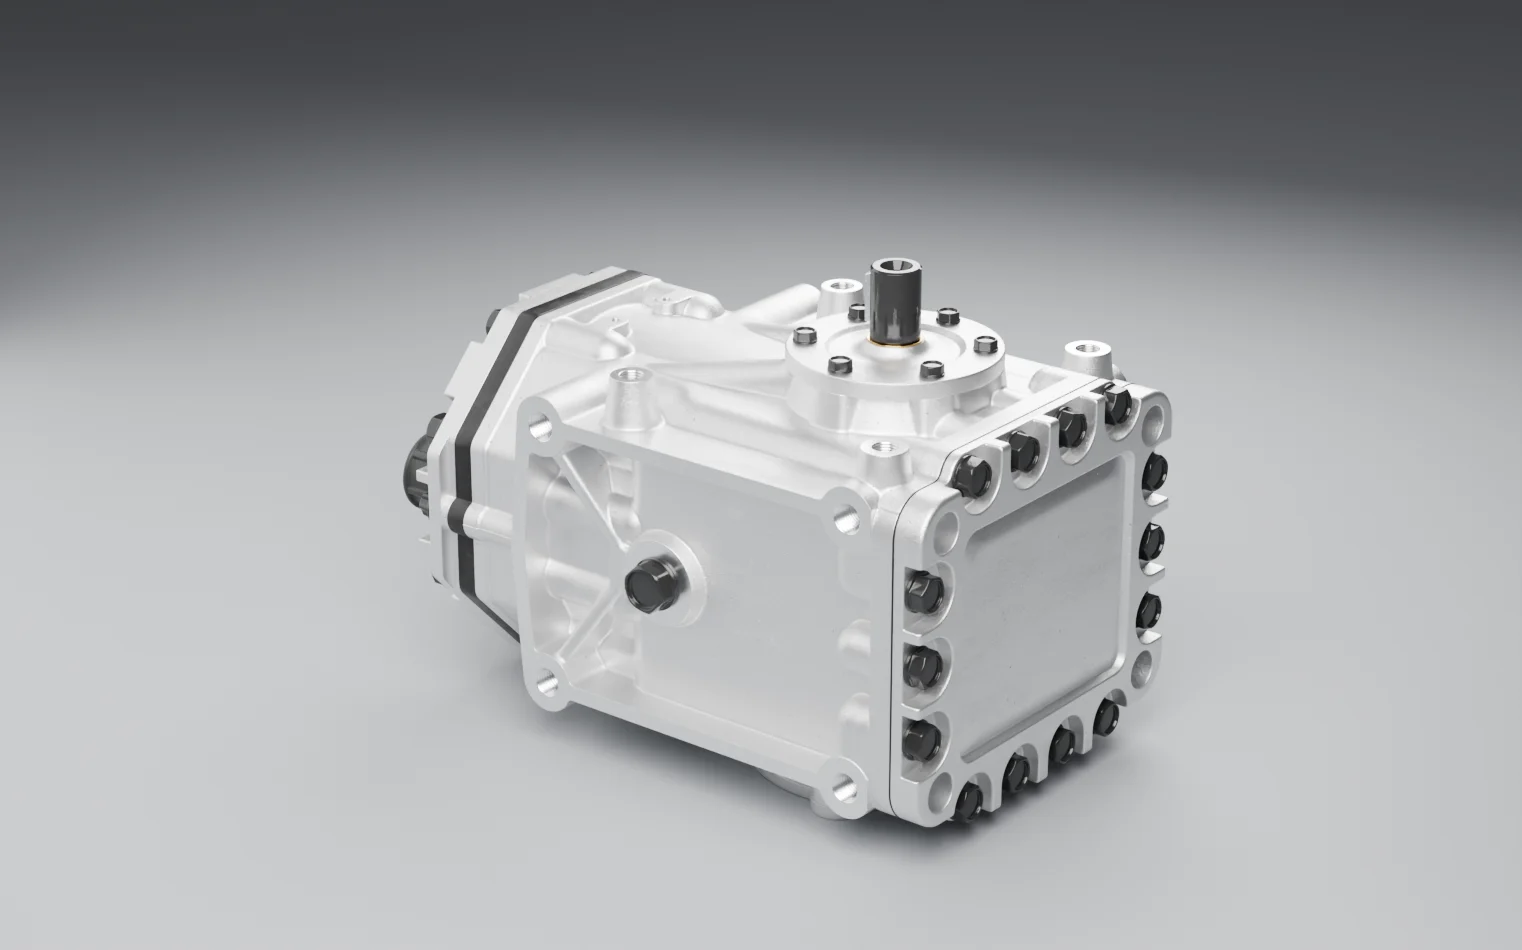
Bare A/C Compressor
A replacement A/C compressor off the vehicle, showing what goes wrong between the box and the first start: holding charge, oil, debris and moisture.
Being fitted. The oil quantity is checked and adjusted to the supplier's instructions for this vehicle, the shaft is turned by hand to clear oil from the pumping chambers, the caps come off one at a time as each line is fitted on new seals, and the pulley or clutch goes on the keyed shaft. The circuit it is joining has already been flushed or had its drier and expansion device replaced if the old compressor failed internally.
Deviation library
Components
Explore the equipment
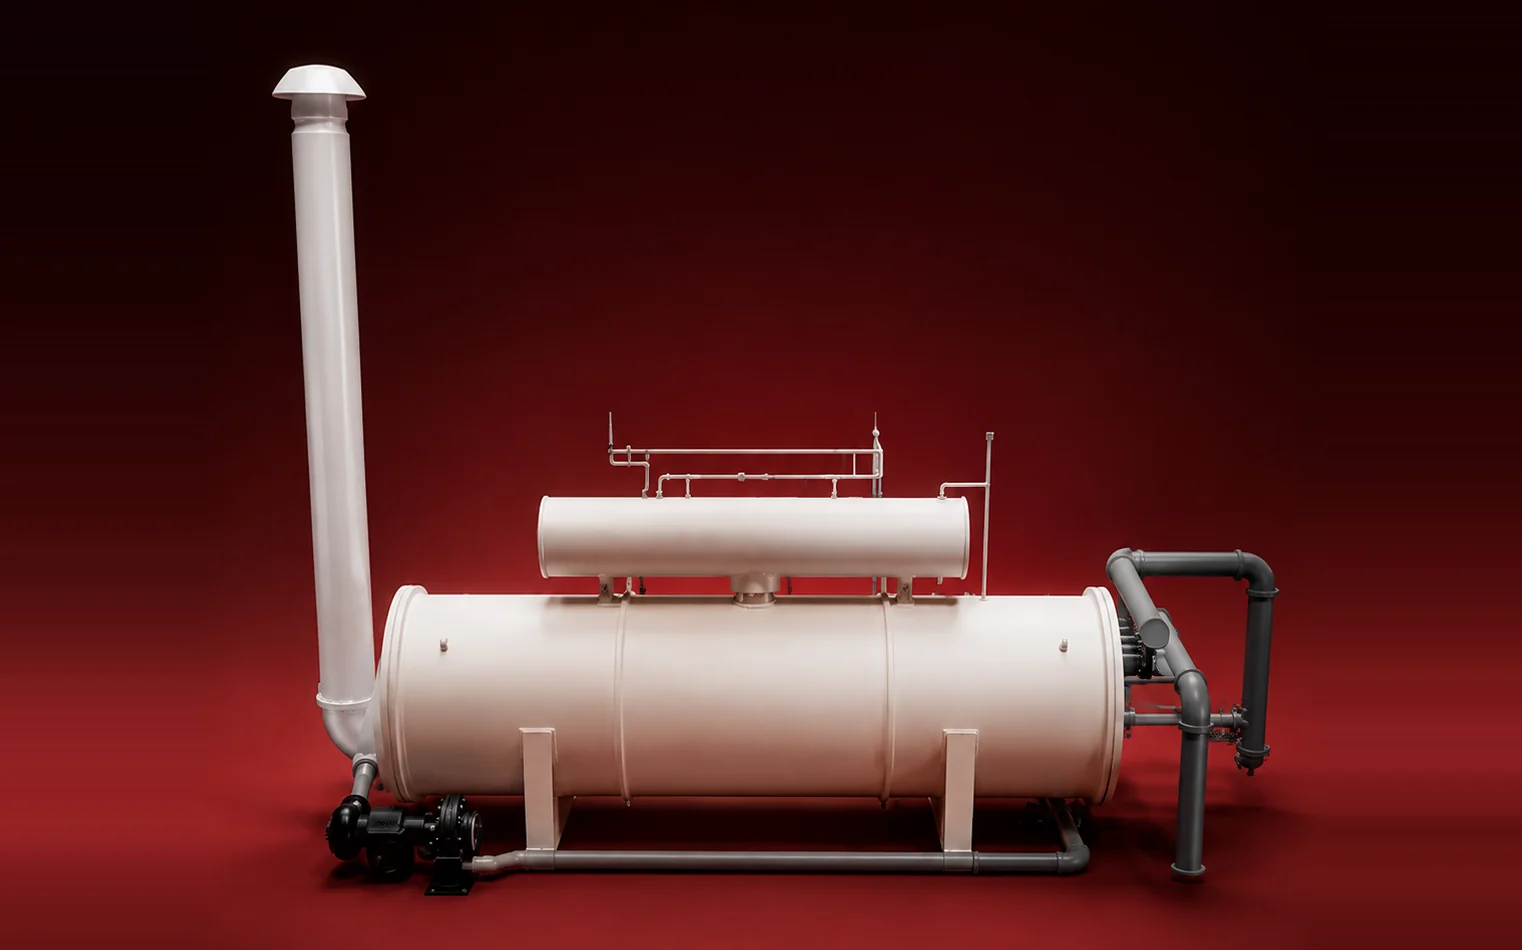
Go into a vehicle's air-conditioning circuit as a replacement and run first time without damaging itself or the circuit. This is a bare compressor: a housing in bolted sections with gaskets between them, a keyed drive shaft with no pulley or clutch on it yet, and its refrigerant ports closed with rubber caps — the state a unit arrives in, or is left in when it comes off a vehicle. Its hazards are the ones of handling and fitting it: what is behind the caps, what oil is inside, what the old compressor left in the circuit, and the first few turns of the shaft. It is a vehicle part, not process plant, and carries no tags. The model is the exterior only: it does not show the pumping mechanism, so the compressor type cannot be read from it, and it cannot tell you the refrigerant, the oil or the oil quantity it was built for, or whether it was shipped with a holding charge. Read all of those from the part number and the supplier's fitting instructions before working any case here.
Components
Compressor housing
The cast body, its end heads and its covers, with the bosses that mount it. Once fitted it is the pressure boundary for both sides of the circuit; it contains the pumping mechanism and the compressor's oil, none of which is modelled.
Normally: Clean, undamaged at every mounting face, and sealed at every joint.
Head gaskets
The gaskets between the housing and its end heads. On a charged compressor they are pressure seals; a head joint that has been disturbed is a leak waiting for the first charge.
Normally: Undisturbed since manufacture and compressed evenly by the bolting.
Drive shaft
The shaft nose that will carry the pulley or clutch hub, with the key that locates it and the ring at its base. Turning it by hand before the first start moves oil that has settled in the pumping chambers in transit.
Normally: Turning smoothly by hand with no tight spots, the key in place and the nose undamaged.
Refrigerant ports (caps fitted)
The two ports on the rear head under their rubber caps. The caps keep moisture and dirt out of the compressor until the lines are ready to fit — and may be holding back a dry holding charge. The model does not label which port is suction and which is discharge.
Normally: Capped until the moment the lines are fitted, then made up on new seals.
Housing bolting
The bolts that hold the housing, heads and covers together. On the bench they are not for adjusting; once the compressor is charged they are clamping pressure joints.
Normally: All present and tight, as they left the factory.
Operating states
As supplied
Boxed or on the bench with its caps on. It may contain its oil fill, and some compressors are shipped with a dry holding charge behind the caps; the supplier's instructions say which. The caps stay on until the lines are ready, because an open compressor starts absorbing moisture from the air straight away.
Being fitted
The oil quantity is checked and adjusted to the supplier's instructions for this vehicle, the shaft is turned by hand to clear oil from the pumping chambers, the caps come off one at a time as each line is fitted on new seals, and the pulley or clutch goes on the keyed shaft. The circuit it is joining has already been flushed or had its drier and expansion device replaced if the old compressor failed internally.
First start
The circuit has been leak-tested, evacuated and charged by weight. The first few seconds are the riskiest of the compressor's life: oil left in the chambers, moisture left in the circuit or debris left from the old unit all show up now, as noise, as a pressure that will not settle, or as a compressor that tightens.
Removed from service
A compressor taken off a vehicle after the refrigerant has been recovered. It still holds oil and some refrigerant dissolved in it, so its ports are capped straight away. The oil that drains from it is evidence: metal in it means the old compressor failed internally and the rest of the circuit is contaminated.
Failure scenarios and safeguards
MOREPressure behind the caps
Eased off slowly and facing away, the cap vents the charge as a hiss, and eye protection deals with any oil.
Causes
- A dry holding charge in the compressor, as some are shipped
- Residual refrigerant in a compressor removed from a vehicle that was not fully recovered
- A compressor left in a hot vehicle or store, warming whatever is inside
How it develops
- 01A cap is pulled off quickly with the port facing the person removing it.
- 02The charge behind it releases at once, carrying oil, and the cap goes with it.
Safeguards
Caps off slowly, facing away
Each cap is eased off slowly with the port pointing away from the face, so any holding charge vents gently, and only when that line is ready to fit. The supplier's instructions say whether the unit was shipped charged.
If it fails: A cap blows off under the holding charge, with oil behind it, towards whoever is leaning over the port.
Eye and hand protection
Safety glasses or goggles, and gloves suited to refrigerant work, whenever the circuit is connected to, opened or charged. Liquid refrigerant flashing to vapour freezes skin and eye tissue on contact.
If it fails: A spray that would have been an inconvenience becomes a cold burn to the hands or an injury to the eye.
Recovery before the circuit is opened
Before any line, port or fitting is disturbed, the refrigerant is recovered with a recovery machine and the circuit confirmed at atmospheric pressure, by a technician qualified for vehicle air-conditioning work where the jurisdiction requires it. Recovered refrigerant is never vented.
If it fails: A charged circuit is opened: liquid refrigerant and oil spray from the joint and flash to vapour, at the hands and face of whoever is holding the spanner.
Unmitigated: A cap and a spray of oil, and possibly refrigerant, into the face and eyes.
OTHER THANLubricant
The oil is checked and set to the instructions on the bench, before the compressor goes in.
Causes
- Oil quantity not adjusted for the vehicle — the supplier's fill assumed to be right
- Oil added on top of the fill without draining any
- A different oil type added from the workshop's stock
How it develops
- 01The compressor goes in with the wrong oil or the wrong amount of it.
- 02Too little and it wears fast; too much and the excess circulates, coating the condenser and evaporator and returning as liquid; the wrong type and it does not lubricate or mix as it should.
Safeguards
Oil type and quantity to the instructions
The oil already in the compressor is checked against the supplier's instructions for this vehicle and adjusted — drained to a measured quantity or topped up with the specified oil — before the compressor goes in. Too much, too little and the wrong kind are all failures.
If it fails: The compressor runs on the wrong oil, or too little to lubricate it, or so much that it floods the circuit and returns to the compressor as liquid.
Unmitigated: Early failure of the new compressor, often within its first weeks, and a circuit contaminated all over again.
AS WELL ASLiquid at first start
Turned by hand first, the compressor clears its chambers and starts against vapour, as it should.
Causes
- Oil settled in the pumping chambers during shipping or storage
- The compressor stored or fitted on its end
- Excess oil added before fitting
How it develops
- 01The engine starts and the shaft is driven before the oil has been cleared by hand.
- 02Oil in the chambers does not compress; the first strokes hammer the internal valves and load the head joints.
Safeguards
Turn the shaft by hand before the first start
The drive shaft is turned through several revolutions by hand before the pulley or clutch is fitted, moving oil that settled in the pumping chambers in transit so the first start is not made against it.
If it fails: The first start is made against oil in the chambers, and the internal valves take the shock.
Oil type and quantity to the instructions
The oil already in the compressor is checked against the supplier's instructions for this vehicle and adjusted — drained to a measured quantity or topped up with the specified oil — before the compressor goes in. Too much, too little and the wrong kind are all failures.
If it fails: The compressor runs on the wrong oil, or too little to lubricate it, or so much that it floods the circuit and returns to the compressor as liquid.
Unmitigated: Broken internal valves on the first start, and a new compressor that has to come out again.
AS WELL ASContamination
Flushed, with the drier and expansion device replaced, the circuit gives the new compressor clean oil and refrigerant to run on.
Causes
- The old compressor failed internally and the circuit was not flushed
- The drier or accumulator and the expansion device left in place after an internal failure
How it develops
- 01Metal particles and degraded oil from the old compressor are still in the lines and components.
- 02They are drawn into the new compressor on its first run, scoring its internals and blocking the expansion device.
Safeguards
Flush and replace after an internal failure
Where the old compressor failed internally, the circuit is flushed to the manufacturer's procedure and the drier or accumulator and the expansion device are replaced, so the new compressor does not inherit the old one's debris.
If it fails: Debris left in the circuit returns to the new compressor on its first run.
Unmitigated: The new compressor fails the way the old one did, and the circuit is contaminated a second time.
AS WELL ASMoisture
Caps stay on until each line is fitted, and the circuit is evacuated and held before it is charged.
Causes
- Caps left off the compressor or the lines while waiting for parts
- The circuit charged without being evacuated
- A drier that had already absorbed all it could left in place
How it develops
- 01Air and moisture enter through open ports.
- 02The oil absorbs the moisture; in the circuit it forms acids and sludge, and at the expansion device it can freeze.
Safeguards
Evacuate before charging
The circuit is evacuated with a vacuum pump and held, which removes the air and moisture that came in while it was open and proves it tight, before any refrigerant goes in.
If it fails: Moisture and air stay in the circuit: the oil absorbs the moisture and forms acids, and the air raises discharge pressure.
Leak test after repair
Before it is charged, a repaired circuit is proved tight — a pressure or vacuum hold, then an electronic detector or dye check at the joints — so a leak is found in the workshop rather than as a slow loss of charge in service.
If it fails: The circuit is charged with a leak in it. The charge bleeds away until the low-pressure cut-out acts, or the compressor runs on whatever is left.
Unmitigated: Corrosion and sludge inside the compressor and the circuit, intermittent cooling, and an early failure.